“Live life with no excuses, travel with no regret.”
~ Oscar Wilde ~
Key West, FL
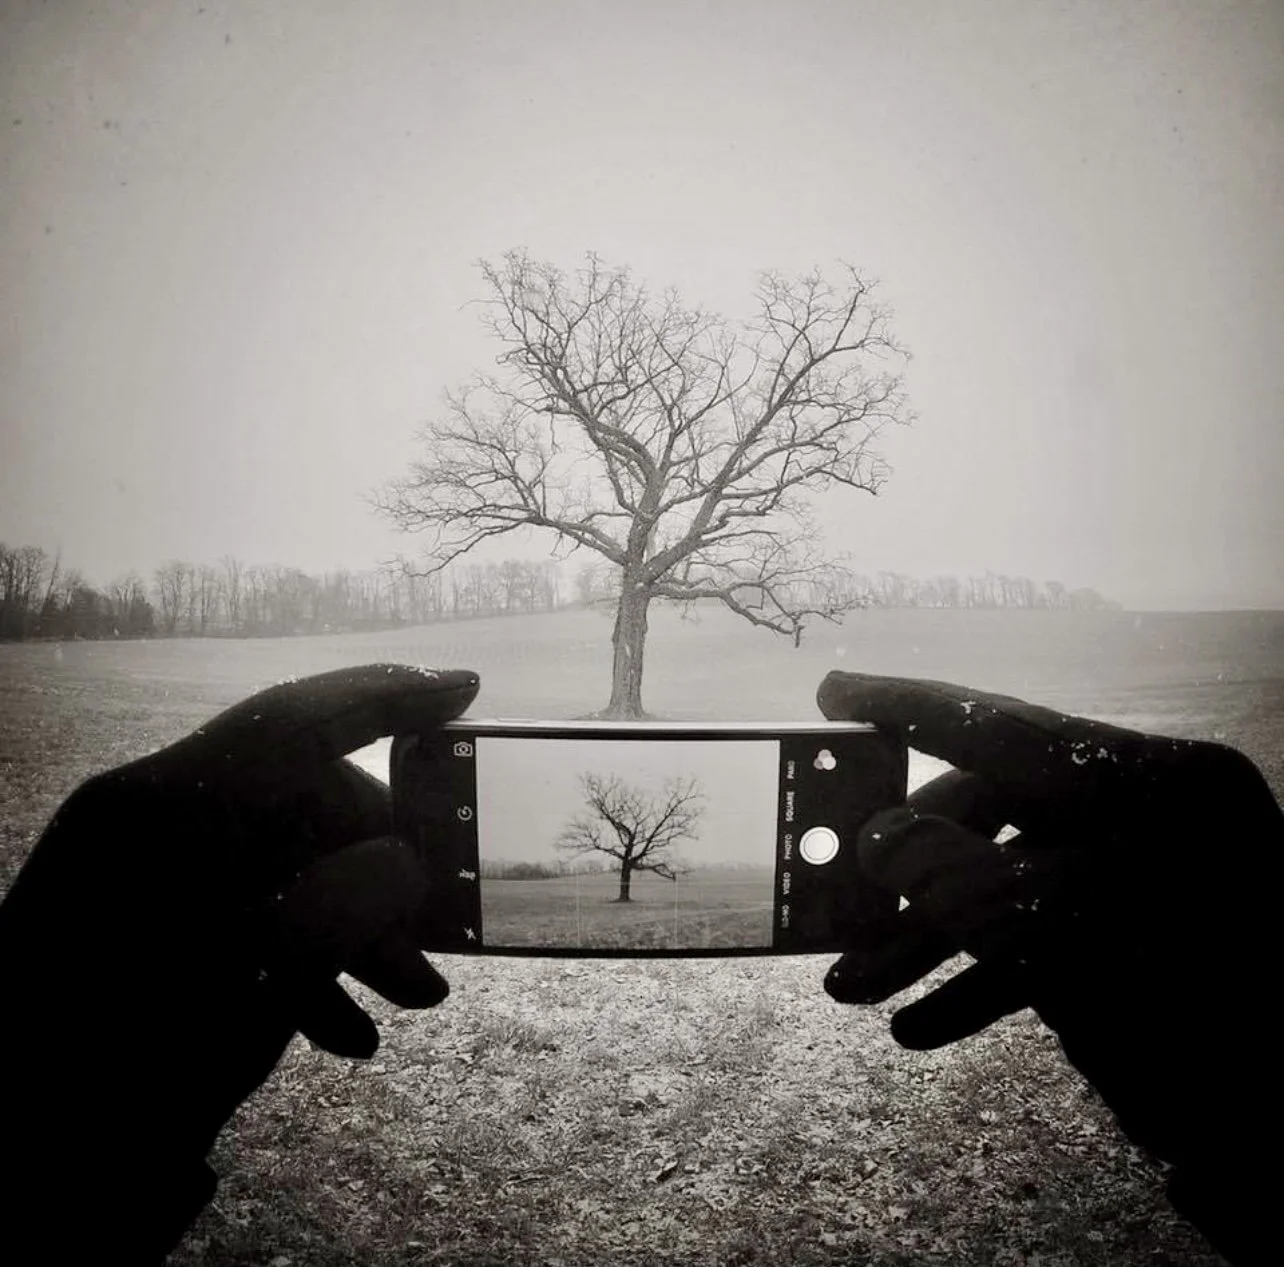
Everyone wants to take great vacation photos. The iPhone offers portability, convenience and impressive image quality. The newer models have 3 built-in lenses with plenty of features to make it a great camera for your travel photography needs.
Let’s get started!
Good Light & Exposure Is Key - We all know the best light is early or late in the day. The soft, beautiful light at these times of day make for wonderful images. What you probably didn’t know is how the iPhone captures & records light. You may be surprised to learn, the camera is programmed to emphasize highlights and avoid deep shadows. As such, many images are automatically mildly overexposed to some extent. To get a better exposure, try this subtle change the next time you take a picture. Note the little sun icon next to the focus box on your screen when your camera is open. It’s actually an exposure control with a slider. Touch the sun icon & drag the slider down a small amount to reduce the brightness of your image. You’ll see an immediate difference and notice more contrast and saturation. In short… a better image!
Camera Access - Life doesn’t happen on a schedule and neither do photo opportunities. They appear at a moment’s notice. To increase your chances of capturing Elvis making a guest appearance on 42nd Street, you need to act quickly. Instead of fumbling with the swipe up, password and open the camera approach, let’s shorten the process. Your homepage has a small camera icon on the bottom right. It’s a quick access feature. Touch and hold this icon and your camera will open. No more fumbling with multiple steps. This doesn't ensure every photo opp will be captured, but you will increase your odds (%) of capturing fleeting moments.
Sharpness - Most people like sharp, in-focus images. The iPhone makes this process simple with a focus box. You simply tap the screen where your subject is located and the focus box will move to this location. Let’s say you’re photographing a friend and you position them left of center in your composition. Tap where they appear on the screen and your camera will re-focus on this spot. Further, if moving objects in the field of view are confusing your camera, you may wish to lock the focus on your subject. Tap & hold the screen for a second and a yellow bar will appear on the top of your phone indicating AE/AF Lock has been activated. The camera is then locked on that particular subject and the auto focus will not be distracted by moving elements in the frame.
Edit Your Photos - All professionals edit their photos before public display. No exceptions. The human eye is far more accurate than any camera and the two will never be identical. Every image will go through some level of post processing - exposure, contrast, cropping, etc. The native edit feature on the iPhone is terrific and offers plenty of options. Remember, less is more in the editing world and subtle adjustments go a long way.
It’s a Foodie World… If you come back from Paris or Rome and don’t have a food images saved in your Camera Roll, you missed part of the story. Food is unique to culture(s) and a celebration of life. The most popular angle to photograph your espresso & croissant at Cafe de Flore is from above. The top down approach is fantastic for capturing shapes, lines, textures and colors. It’s a visual paradise. Here’s the secret: Be sure to align the + icons (crosshairs) in the center of your screen to ensure you are level with your subject.
Avoid Digital Zoom - The manually zooming on your iPhone (i.e. pinching), you inadvertently crop & magnify the image, leading to a significant loss of quality. Instead, use the multiple lenses on your iPhone, 0.5x, 1x, 2.5x, to maintain your quality. Another option may be, ‘zoom with your feet’ to get closer to your subject.
Master Portrait Mode - This camera setting is a game changer. It creates a soft, out-of-focus background and mimics what high end mirrorless (or DSLR) cameras allow you to do. Your subject will be the center of focus as background noise is rendered intentionally out-of-focus. After the image is taken, you can then adjust the amount of blur with an f-stop change and add lighting effects as well.
Bonus.. Video & Stills- If you’re a video person, you’ll like this feature. Did you realize you can shoot video and take pictures at the same time? When recording your next video, notice the round white circle on the bottom of your screen once your video has started. Tapping this button will allow you to take a still photo during the video with no interruptions. Note: This photo will not have the same resolution (i.e. quality) as a dedicated photo. But, for social media and/or texting purposes it will suffice.
Warwick, NY


